When I build something for myself, every project follows the same routine. I design it in SketchUp, print a drawing with dimensions and a parts list, fold it into my pocket, and drive to the shop where I do all my cutting and assembly. By the end of the build, that sheet is covered in sawdust, pencil marks, and a coffee ring or two. Then it goes in the trash.
This week I skipped the printer.
The Project
My desk is a Home Depot butcher block top on standing desk legs, with a 35-inch open drawer box mounted underneath, between the legs. This project is a stand that attaches to the side of that drawer box and holds my laptop vertically with the lid closed, along with its docking station. Getting both off the work surface frees up a lot of usable space.
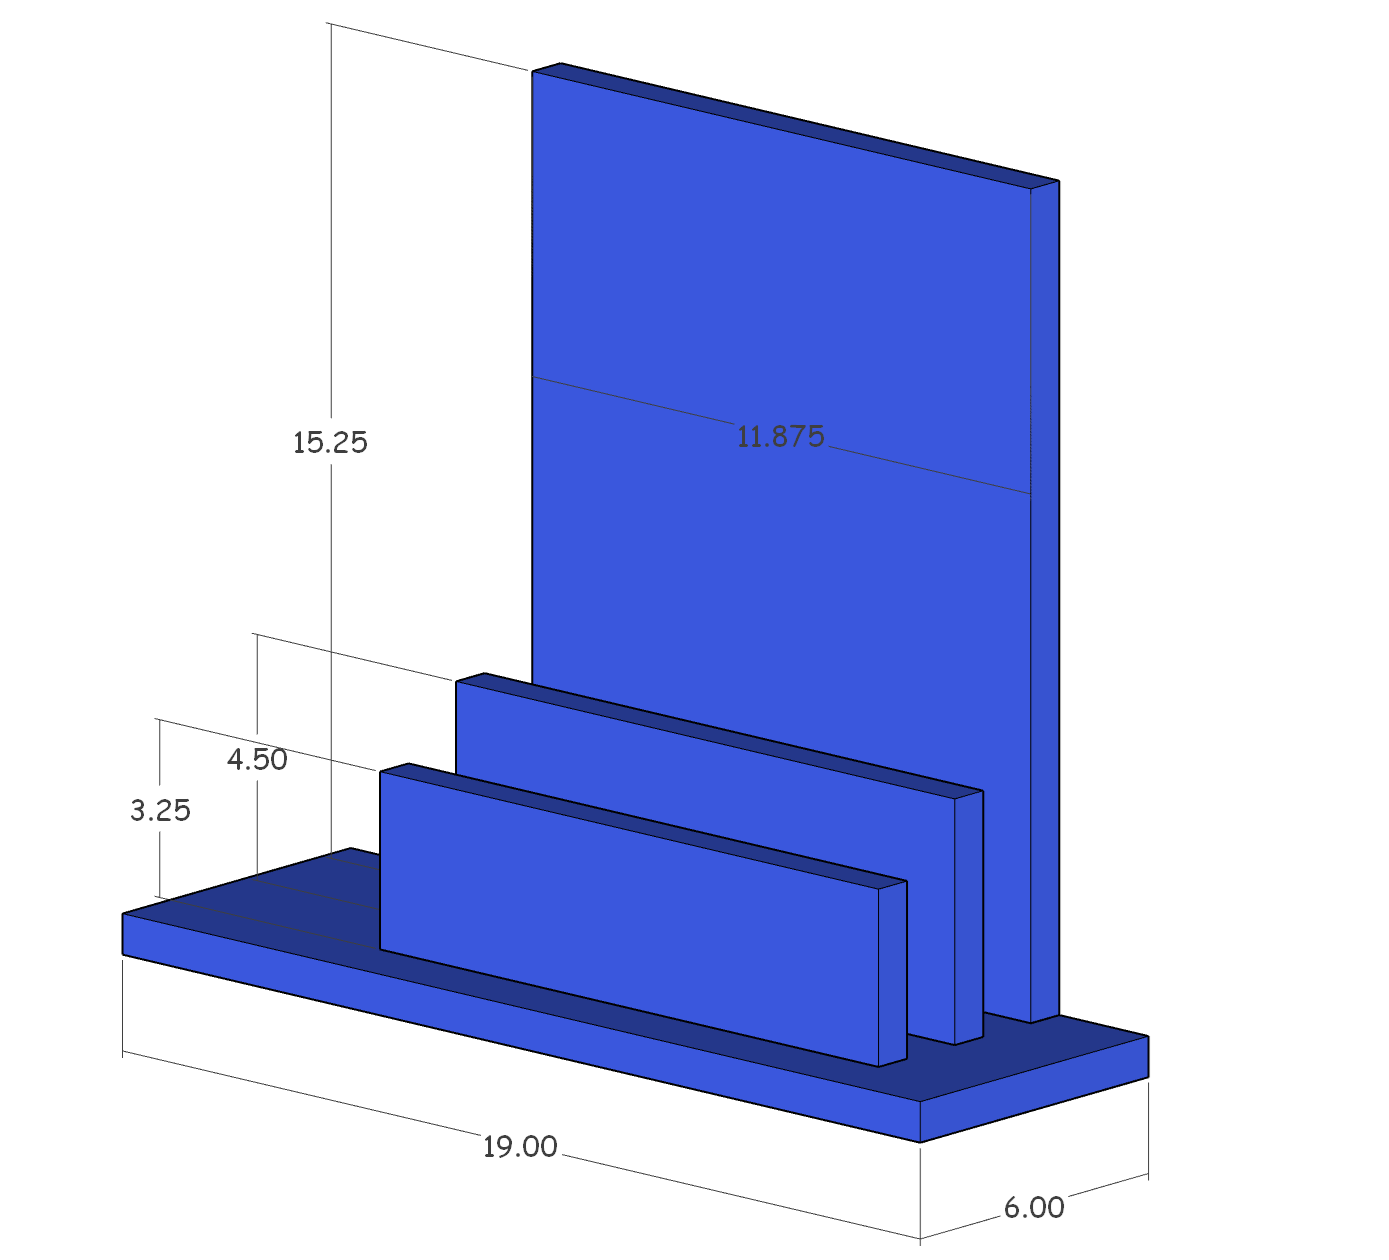
The unit consists of a base, two dividers, and a vertical panel that holds it all together. Nothing complicated. I'm cutting it as a physical mockup to check proportions before committing to the real thing.
Going Paperless
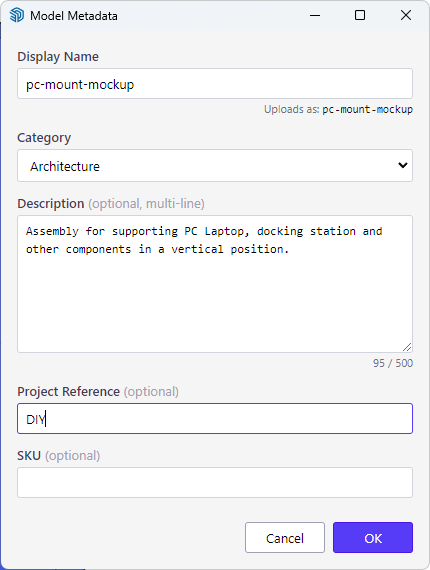
From the ModelLink 3D Studio plugin in SketchUp, I used Print to p3DF. It packages the model into a single portable file, a p3DF, that I saved straight to my phone. The p3DF includes a thumbnail of the unit and the dimensions, so I had everything I needed in a single file.
At the shop, I kept the 3D model open as I picked through scrap left over from some temporary kitchen pantry shelving (what Home Depot calls "Chestnut Oak Laminated Wood"). As a rule, I hang onto any scrap that could serve another project.
That's where the plan met reality. The scrap I had wasn't wide enough for the vertical panel. I dug through the pile for another piece that would work, with no luck. Just as I was ready to give up for the day, I took another look at the model and realized the panel didn't need to be as wide as I'd planned, especially for a mockup I'll later repurpose or discard. A narrower panel would still do the job, so I cut it from what I had.
Updating the Model to Match
Back at my desk, I updated the SketchUp model to reflect what I actually built. I photographed the scrap and used that photo as a texture, so the revised model looks like the real material.
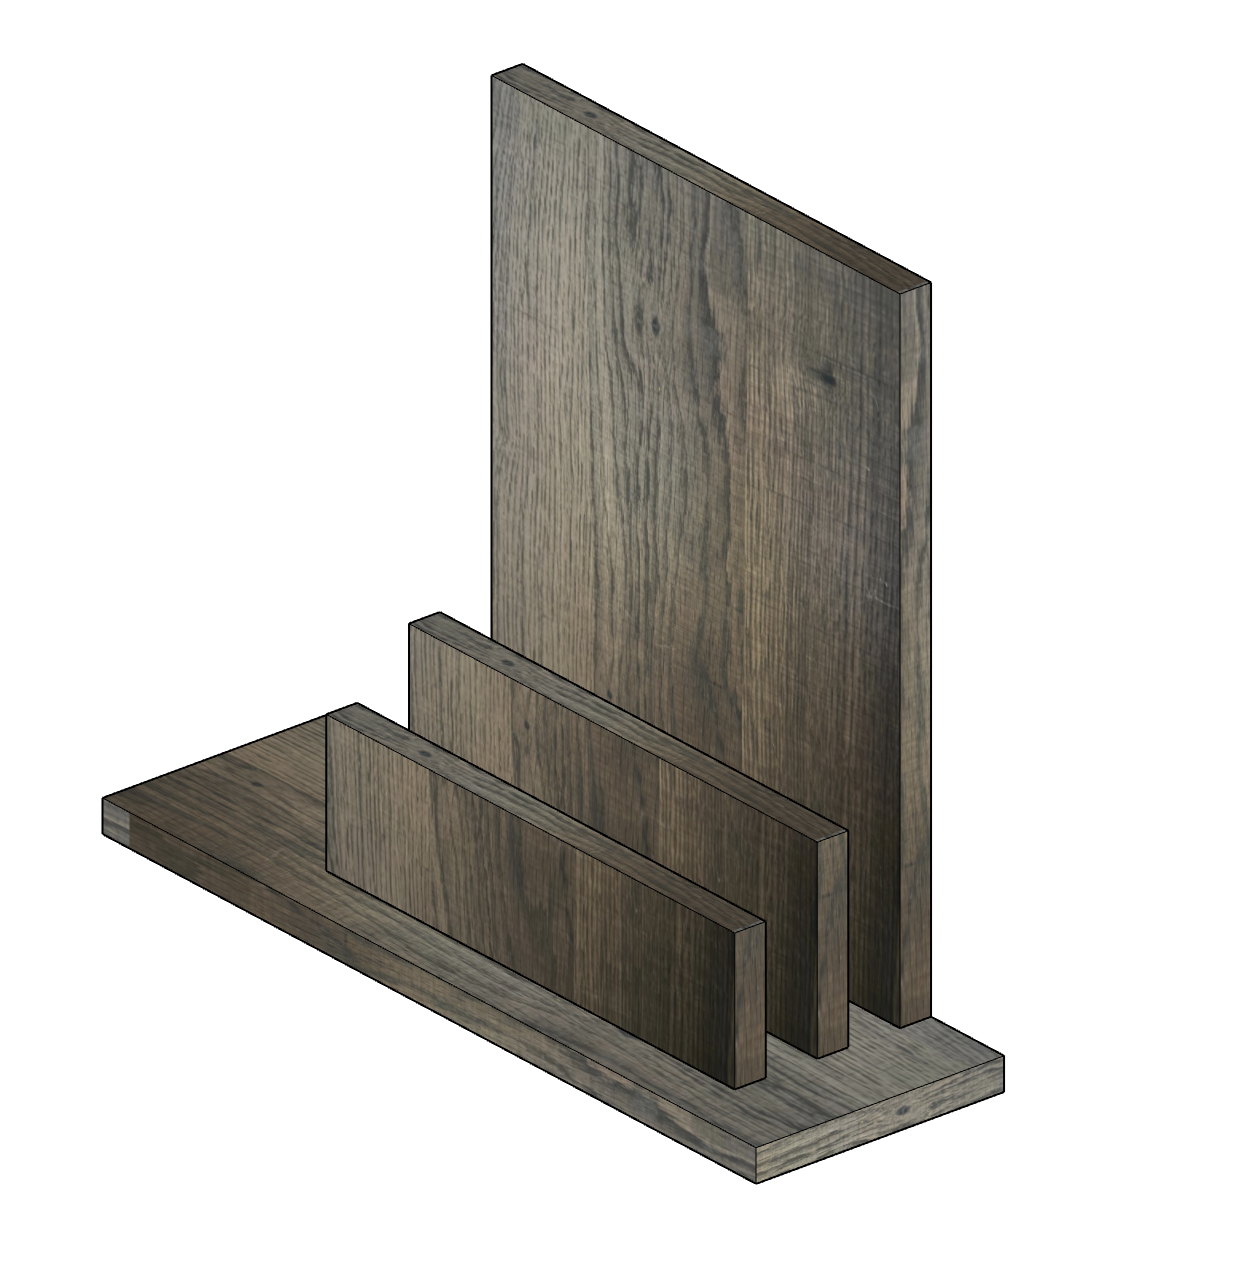
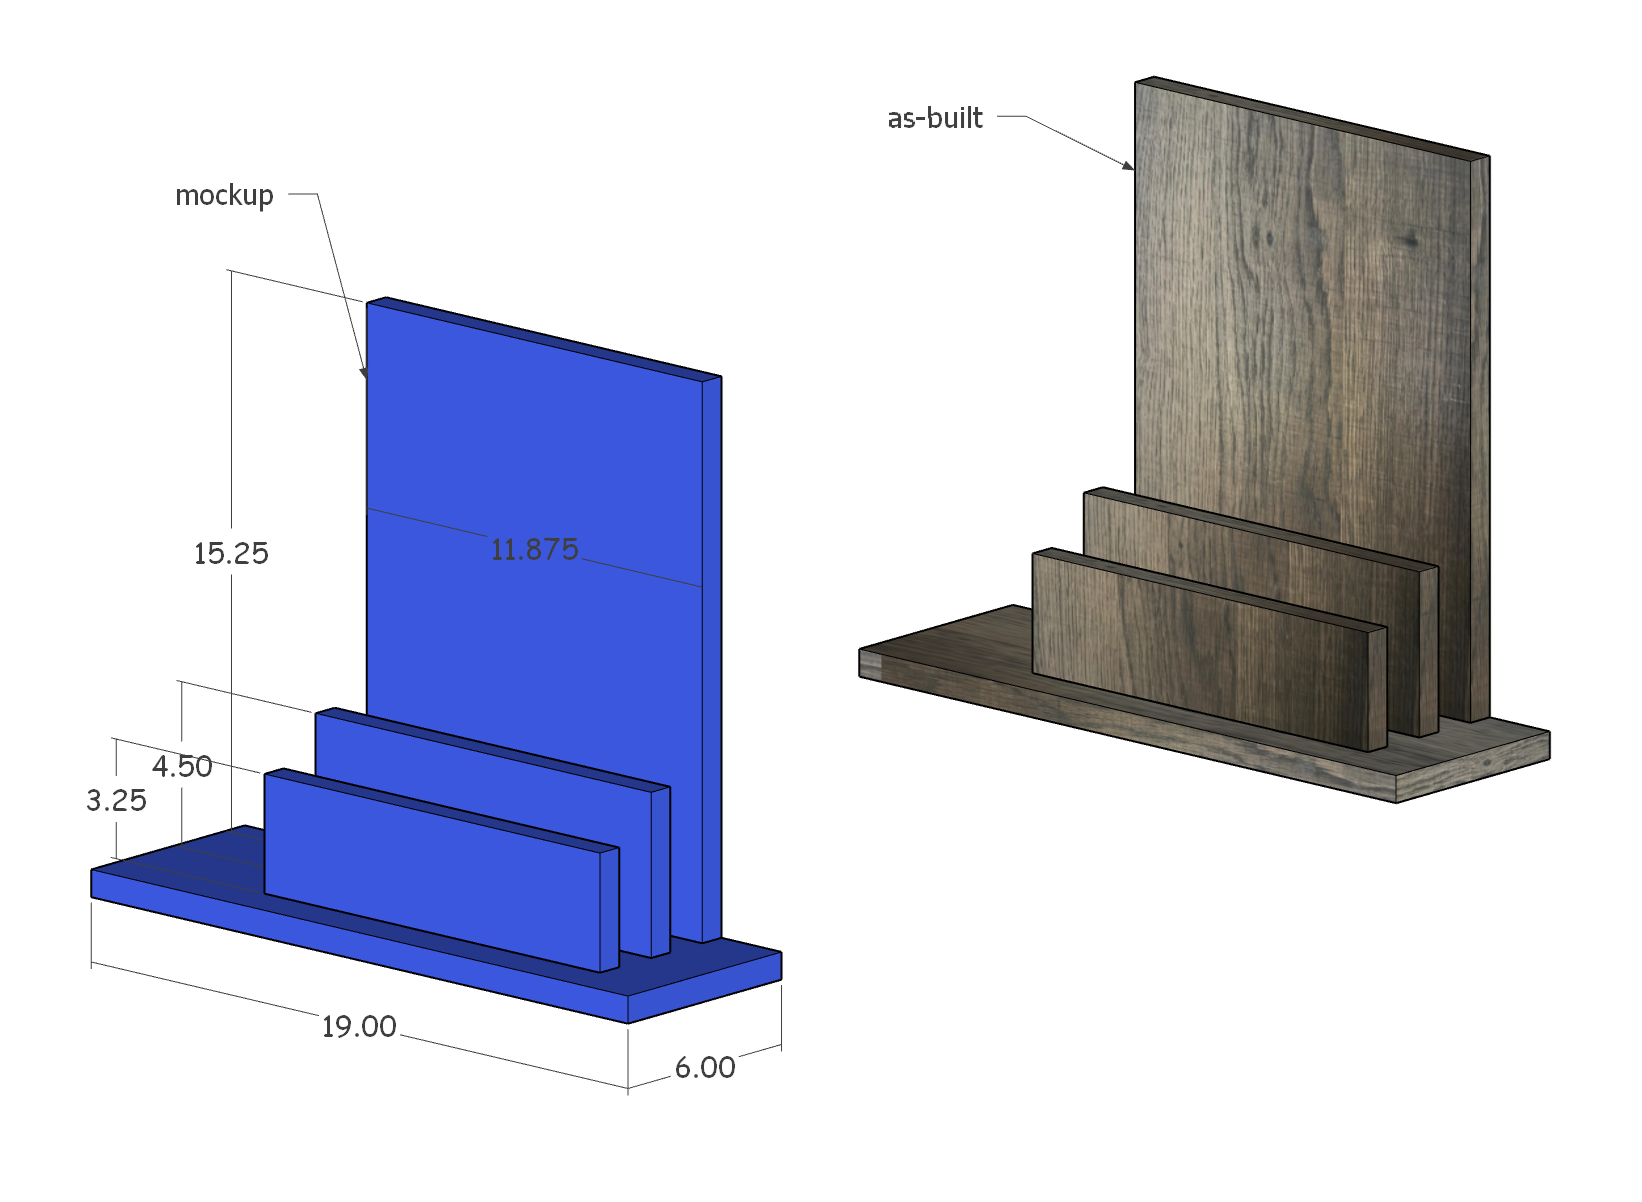
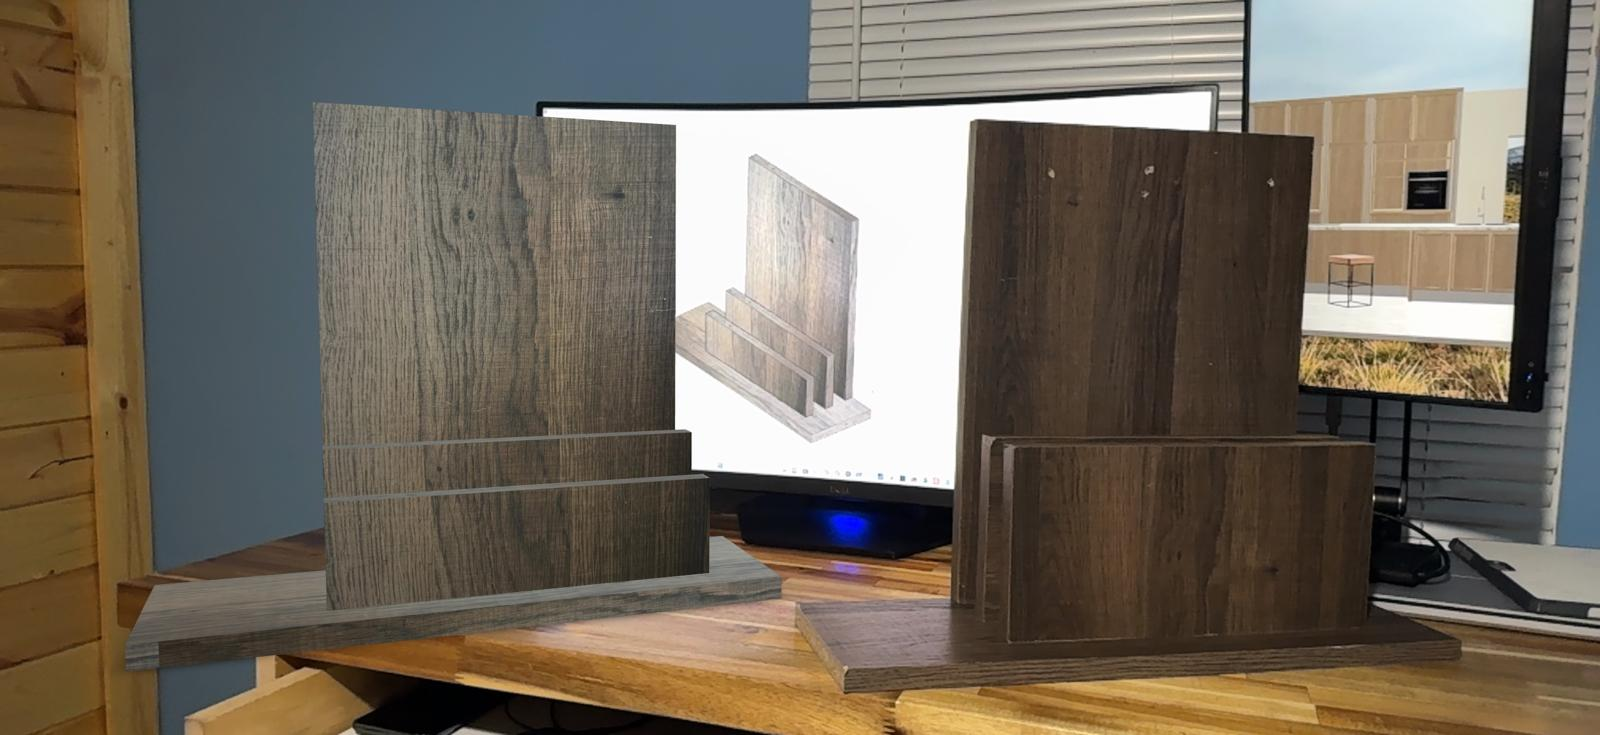
Now I have three versions to compare: the original design, the as-built model, and the physical unit.
AR vs. Real
Once the unit was built, I put the AR model right next to the physical one, with all three versions in one shot.
Then the real test: loading it up. The laptop and dock dropped into place exactly as the model said they would.
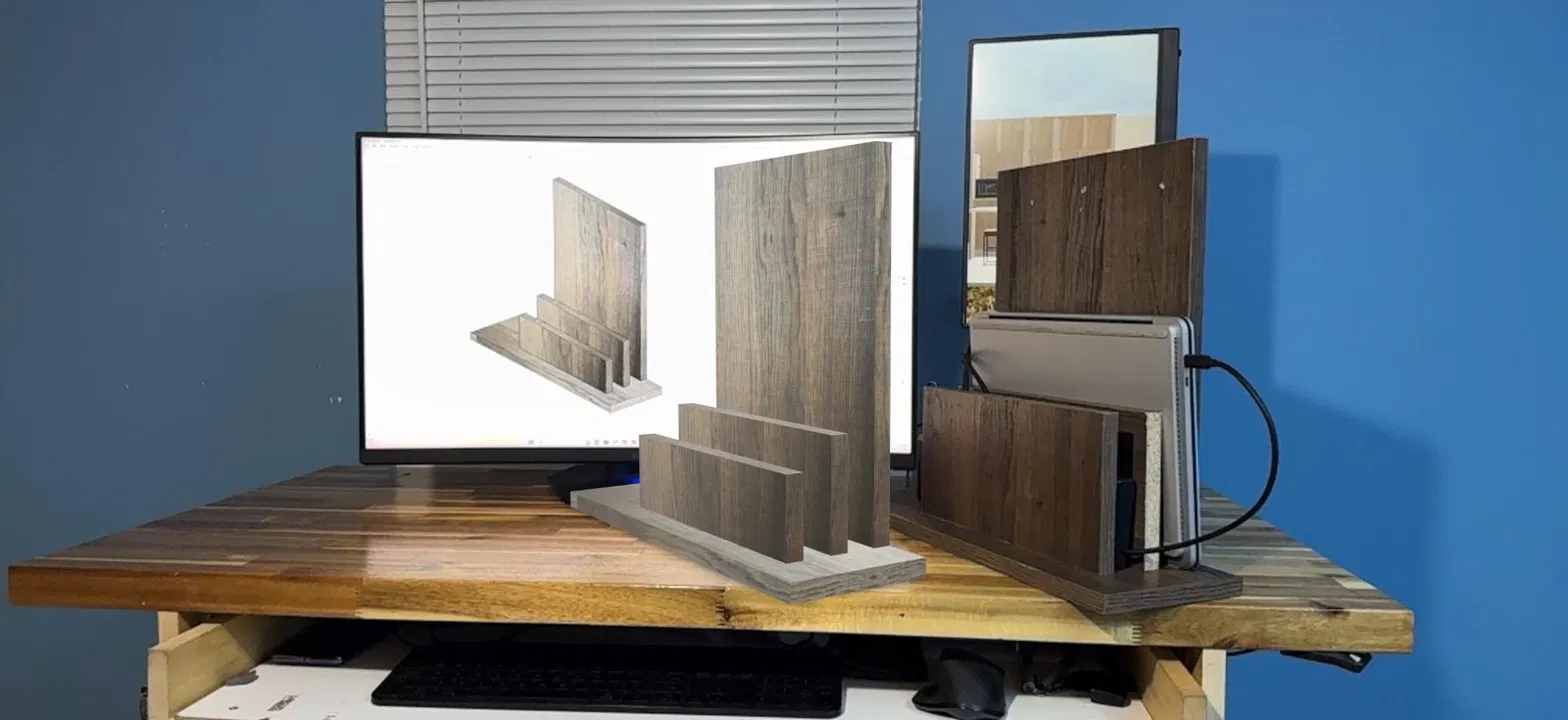
Want to try it? Download the original design and the as-built model, then open them in the p3DF Viewer to compare them, or to place them in AR on your own desk.
From Model to Installed
Here's the whole trip in about half a minute: the as-built model in SketchUp, the same model in AR on the desktop, and then the real unit attached to the side of the drawer box under the desk, where it will stay until I build the final version.
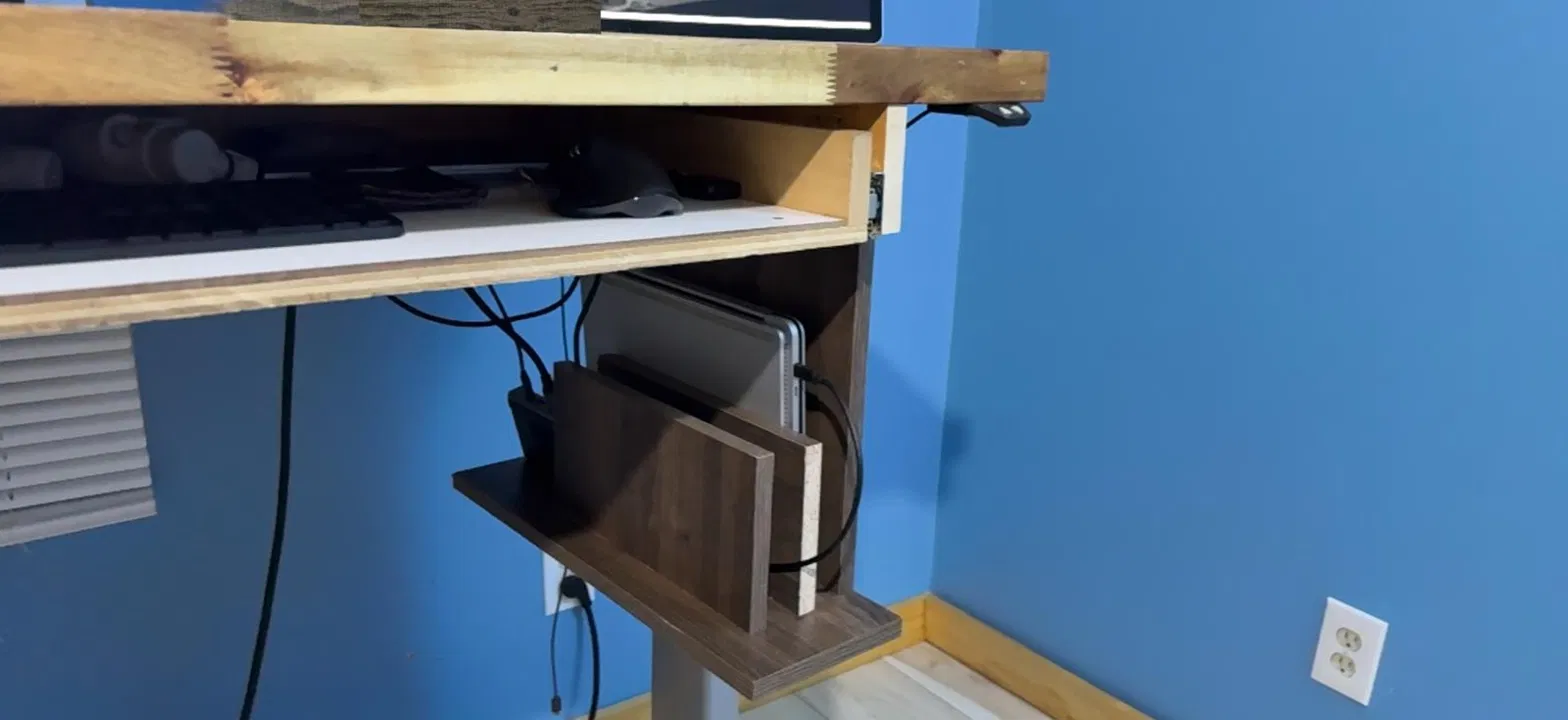
This stand is one of several modifications to this desk, which is quite literally my 3D workshop. I'll cover the others in future posts.
Why This Matters, Even on a Small Project
This build is about as simple as it gets, and that's the point. Print to p3DF earned its place on a project that didn't need anything fancy.
There's nothing to host. I didn't upload anything or create a share link. The file lives on my phone, and that's the only place it needs to be.
It's a temporary asset. When the project is done, I delete the file, or archive it with the project. No cleanup on a server, and no old models lingering in an account somewhere.
It replaces the paper drawing and the parts list. The geometry and the dimensions travel together, and I'm working from the model itself instead of a flat interpretation of it. When the material didn't cooperate, the model helped me adapt instead of leaving me staring at a sheet that no longer matched what I was building.
Hosting has its place. When a client needs to see a design, a link they can open on any phone, with no app and no account, is exactly right. But not every model is meant to be shared. Sometimes it's just you, your phone, and a stack of scrap. That's what Print to p3DF is for.
Try it yourself. Print to p3DF turns any SketchUp model into a single self-contained file that opens in 3D and AR in the free p3DF Viewer on any phone or computer, with no account, no upload, and no connection. It's part of ModelLink 3D Studio, the SketchUp plugin for ModelLink 3D, which runs on SketchUp 2025 or later on Windows or macOS. Learn about the plugin, then start a 30-day free trial to download it. Print to p3DF isn't tied to the trial or a subscription, so it keeps working either way. Once installed, choose Extensions → ModelLink 3D Studio → Print to p3DF.
ModelLink 3D™, 3DF™, and p3DF™ are trademarks of Altonuva LLC. ModelLink 3D is available at modellink3d.com.
Thoughts or questions? Email me.